Friday, July 8, 2016

Tack Fused Frit Pendants

These are super easy and people love the texture.

Supplies needed:

Coarse Frit ( frit blends work great)
Pendant mold of your choice


Simply fill the selected mold with your choice of coarse frit (always spray molds with Zyp, Boron Nitrate) and tack fuse together.  The firing schedule I am using is as follows:

300/hour
1325 degrees
hold for 20 minutes
full/hour 
950 degrees
hold for 2 hours

Have fun with these.

Thursday, June 23, 2016

Glass Reaction Pendant

Here is a very quick picture tutorial on my glass reaction pendants using System96 glass. Please check out the glass reaction charts currently found on the Spectrum website here.  (I do not know if these charts will be available after July of 2016)


Saturday, May 30, 2015

HOW TO GET RID MOST BUBBLES

Good evening.  Since It will be at least a week before I can post again I thought I'd do the 1st picture tutorial I had in mind.  

Bubbles are great if you are using bubble paint like UGC's artisan line and not so great when the pop up in the middle of a beautiful piece you worked hard on.  Here is a quick tutorial on what I do to eliminate almost all of them.


First a note on my kiln and firing schedules.  I bought a JenKen Bonnie Glo fiber kiln a little over 2 years ago.  I highly recommend this kiln for a starting kiln.  Inside dimensions are 15 inches diameter by 6 inches high and you can use almost all of that room,  You can fire stuff on the bottom of the kiln with either kiln wash or fiber paper.  I didn't own a shelf until recently.  You can also fire many things made with 1 or more layers (3mm) of glass very quickly.  The company has a picture of a bowl with all of their kiln advertisements that was fired in 1 1/2 hours. You can totally do that, but in my experience you will get.... can you guess... BUBBLES!  I frequently fire 2 layers of glass like used in this tutorial as fast as possible up to 1125 degrees in this kiln.  All of that being said  with glass slower is usually better.  If you do not have a fiber kiln I recommend using your own schedules and not mine.  The best thing you can do is know your own kiln.


Bubbles were one of my first frustrations with fused glass work.  I made a little piano plate for a friend and it was all bumpy and lumpy from bubbles.  Being a piano teacher she loved it anyway.  My next piece was a pretty pink bowl that was full of bubbles.


I did a little research and found 2 things out.
1. Slow things down!
2. Use a thin amount of clear powder between layers.

So here is a basic full fuse firing schedule with a bubble squeeze added.

300/hour to 1125
50/hour to 1225
hold for 30 minutes
250/ hour to 1475 
hold for 10 minutes
Full to 960
Hold for 60 minutes
Full to 100

Now I get a lot of questions about adding the powder layer.  Number one question is "won't that make the piece foggy or hazy?  I have never had a problem with that but it will if you use too much powder.  Here is how I do things.

9" x 9" Blackberries and Cream S96 Opal Art Glass.  This is one of my all time favorite pieces.


I use clear powder frit.


Use a spoon to put the clear powder into a sifter
(please wear a mask when using glass powders)


Tap the sifter to spread powder all of the glass in a thin layer.  Use a piece of paper under the glass to catch excess powder.  This makes it easy to put back in the jar.


What it looks like when I am done


Cap it with the same sized clear glass and place it in the kiln.  Use a kiln shelf if you have a brick kiln.  Fire using a schedule with a bubble squeeze like the one above


This is the same sheet of glass after a full fuse. Over all there is no large bubbles.  


There are still a few small champagne bubbles but these are normal in fused glass work.

I use this same basic technique for most of the pieces I full fuse.  It works on sheet glass, dichroic, iridescent etc.  You may get some small bubbles, but most large ones that interfere with the look of a piece will be eliminated.


Thursday, May 28, 2015

Welcome

Welcome to Peak Heart Glass Art.  Lets start off with a few picture of the fused glass work I have done. All glass is System 96 (S96).

Mountain Plate 
I used S96 crystal blue glass for the background. White Iridescent for the mountain peak and aspens, Green S96 Fusers' Reserve at the bottom.  The frit is a mix of several yellows, oranges, and a little red. The moon is a piece of dichroic on clear. 


Black and White Ruffle Bowl 
A piece of black and white Fusers' Reserve glass capped with a piece of clear slumped into a large ruffle bowl mold

Carnelian Ruffle Bowl 
This was also a piece of Fusers' Reserve glass capped with clear and slumped into the large ruffle bowl mold


Blue and Green Butterfly Plate
The background is once again a piece of Fusers' Reserve glass.  The butterflies were made with glass powder using the Freeze and Fuse technique.

The Lake Plate
The base is 2 layers of clear glass.  The center is a piece of Fusers' Reserve glass cut into pieces with dichroic frit in between them.  The outside is a Carolina Frit mixture.  The final result is a tack fuse into a basic plate mold.

Ice Cream Dish
A piece of Fusers' Reserve tack fused to another square of clear glass.  Clear frit is sprinkled around the edges.  I also used a "foot mold" for the base.  

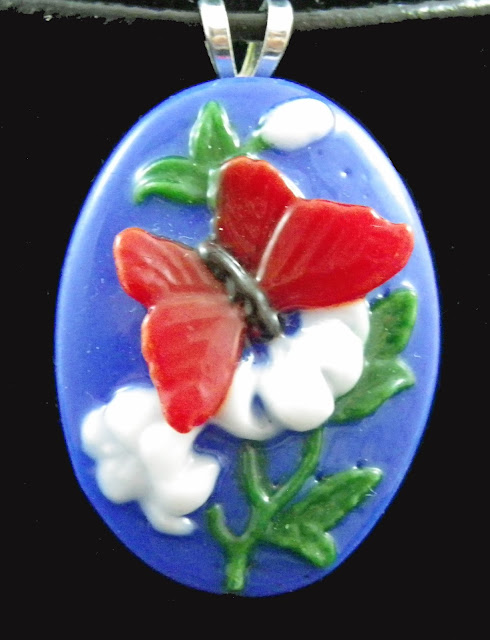
Freeze and Fuse Butterfly Pendant
Created with different glass powders carefully put into a silicone mold.  It is then frozen and taken out of the mold onto a kiln shelf and tack fused.


Pot Melt Clock
This is one of the first pot melts I did.  It is almost a half inch thick.  The numbers were stenciled on using intense black china paint.

Aspen Plate
Blackberries and Cream opal art glass capped with clear.  The trees are white Irid glass and the frit is a combination of Carolina frits.

Mermaid Bubble Pendant
I used Azure Blue Unique Glass Colors Artisan paint between 2 layers of clear glass and then added black decals.

Silver Blue Dichroic Pendant
Silver Blue dichroic ripple glass capped with clear.


I hope you enjoy my pieces.  I will post more as I make and photograph them.  I am planning a tutorial on how I use clear glass powder to help eliminate most bubbles between layers of glass.